Python for GIS and Geoscience
Doctoral schools of Ghent University
Course setup
To get started, you should have the following three elements setup:
- Install Pixi
- Download the course material to your computer
- Install Python and the required Python packages using Pixi
- Test your configuration and installation
- Start Jupyter lab
In the following sections, more details are provided for each of these steps. When all three are done, you are ready to start coding!
1. Install Pixi
We recommend to use pixi, a command line tool for package and environment management (https://pixi.prefix.dev/latest/).
Pixi allows us to install a Python distribution with the the scientific libraries we will use in this course (this recommendation applies to all platforms, so for both Windows, Linux and Mac).
To install pixi, go to the installer page and
follow the installation instructions for your operating system.
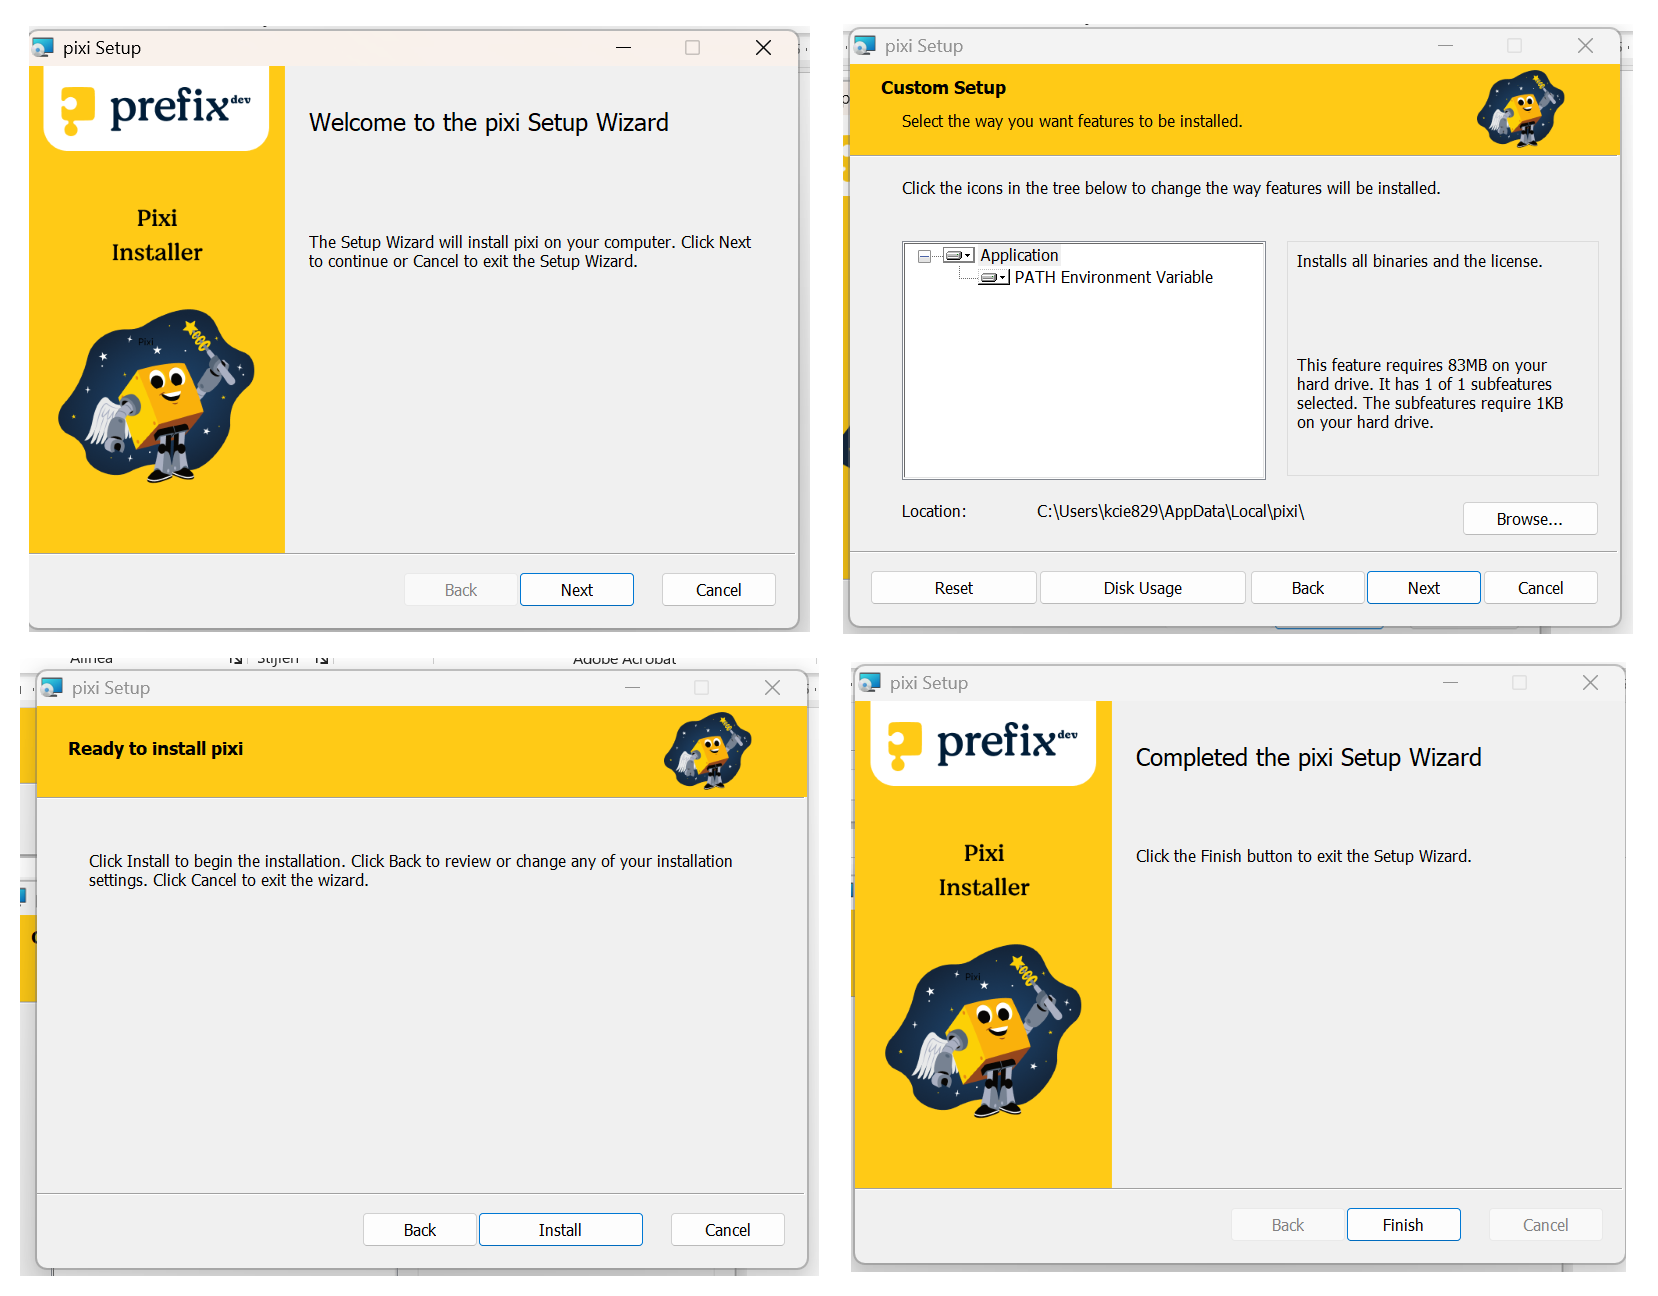
For Windows users, accept the default installation guidelines:
2. Getting the course materials
Option 1: You are already a git user
As the course has been set up as a git repository managed on Github, you can clone the entire course to your local machine. Use the command line to clone the repository and go into the course folder:
git clone https://github.com/plovercode/DS-python-geospatial.git
cd DS-python-geospatial
Option 2: You are not a git user
To download the repository to your local machine as a zip-file, click the download ZIP on the
repository page https://github.com/plovercode/DS-python-geospatial (green button “Code” -> “Download ZIP”):

After the download, unzip on the location you prefer within your user account (e.g. My Documents, not C:\). Watch out for a nested ‘DS-python-geospatial/DS-python-geospatial’ folder structure after unzipping and move the inner DS-python-geospatial folder to your preferred location.
Note: Make sure you know where you stored the course material, e.g. C:/Users/yourusername/Documents/DS-python-geospatial.
3. Set up the course Python environment using Pixi
Ensure you have pixi installed (step 1). Then:
-
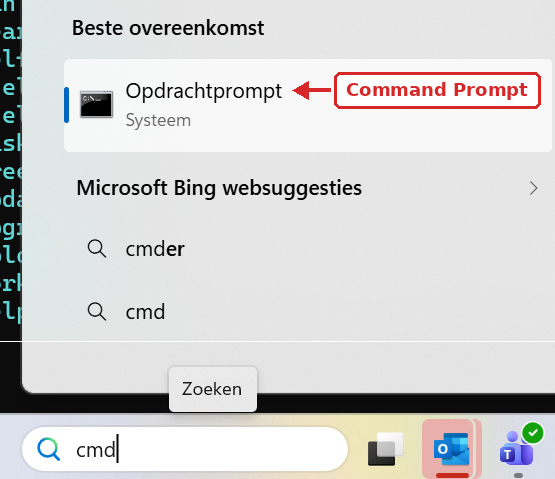
Open a terminal window. On Windows use “Command line” or “cmd”, open it via Start Menu > ‘Command line’:
-
Navigate to the directory where you downloaded the course materials using the following command:
cd FOLDER_PATH_TO_COURSE_MATERIAL!
FOLDER_PATH_TO_COURSE_MATERIALshould be replaced by the path to the folder containing the downloaded course materials (e.g. in the example it isC:/Users/yourusername/Documents/DS-python-geospatial)Type the command and press
ENTERto execute it. -
Create the environment and install the course dependencies:
pixi installType the command and press
ENTERto execute it.
Output will be printed and if no error occurs and you see ✔ The default environment has been installed., you have the environment configured with all packages installed.
This may take a couple of minutes to download.
When finished, keep the terminal window open (or reopen it). Execute the following commands to check your installation:
pixi run ipython
Within the terminal, a Python session will be started in which you can start writing Python! Type the following command:
import pandas
import matplotlib
If no message is returned, you’re all set! If a message (probably an error) returned, contact the instructors. Copy paste the message returned.
To get out of the Python session, type:
quit
FAQ What if I get an error about not finding pixi.toml?
When you see the following error message after running pixi install:
Error: × could not find pixi.toml or pyproject.toml with tool.pixi at directory ...
Then you are not running pixi install from the root of the course materials
directory. Check again where you downloaded the materials, and ensure you
navigate (cd) to the correct location (see step 2 above).
FAQ What if I get a warning about outdated pixi version?
When you see the following message after running pixi install:
  ⚠ Lock-file version 7 is newer than supported
  help: Maximum supported version: 6 (pixi v0.67.0)
        The lock-file will be treated as missing and regenerated.
        Consider running `pixi self-update` to update to the latest version.
Stop the setup (CTRL-C), run the update pixi self-update command before doing the setup with pixi install again.
4. Test your configuration
To check if your packages are properly installed, open the terminal again (see above) and navigate to the course directory:
cd FOLDER_PATH_TO_COURSE_MATERIAL
With FOLDER_PATH_TO_COURSE_MATERIAL replaced by the path to the folder with the downloaded
course material (e.g. in the example it is C:/Users/yourusername/Documents/DS-python-geospatial).
Then, run the check_environment.py script:
pixi run python check_environment.py
When all checkmarks are ok, you’re ready to go!
5.(start of day during course) Starting Jupyter Notebook with Jupyter Lab
Each of the course modules is set up as a Jupyter notebook, an interactive environment to write and run code. It is no problem if you never used jupyter notebooks before as an introduction to notebooks is part of the course.
-
In the terminal (or “Command Prompt”), navigate to the
DS-python-geospatialdirectory (downloaded or cloned in the previous section)cd FOLDER_PATH_TO_COURSE_MATERIAL -
Start a jupyter notebook server by typing
pixi run jupyter lab
Next?
This will open a browser window automatically. Navigate to the course directory (if not already there) and choose the notebooks folder to access the individual notebooks containing the course material.